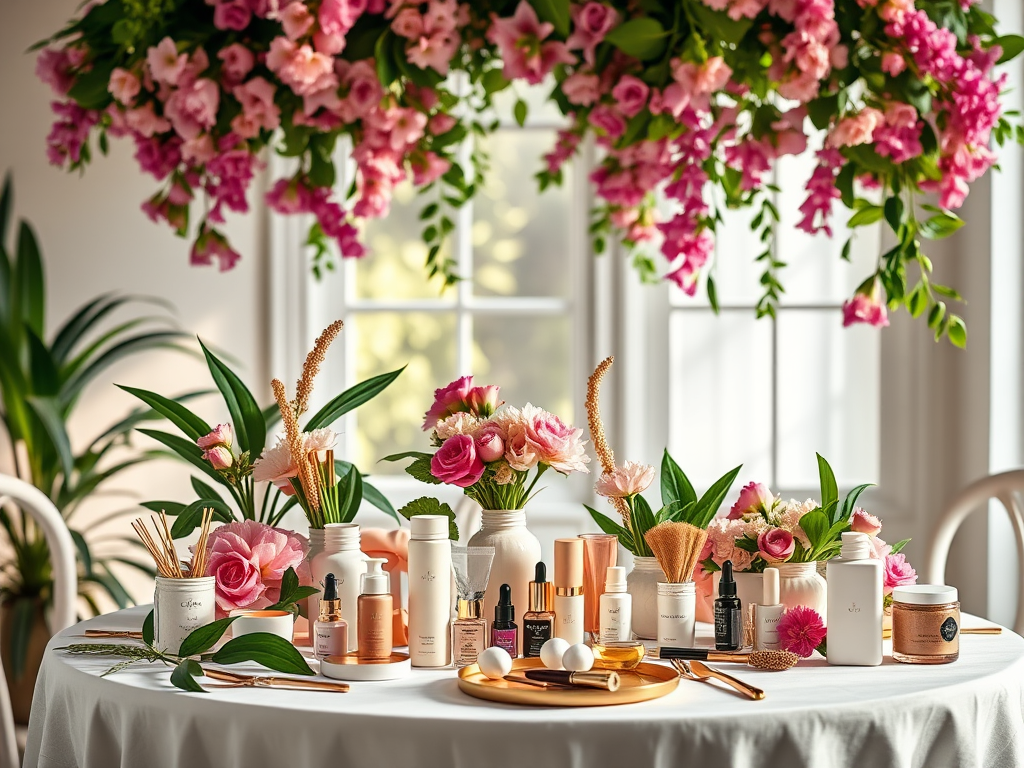
Girl’s Day Just Got A Little More Fun!
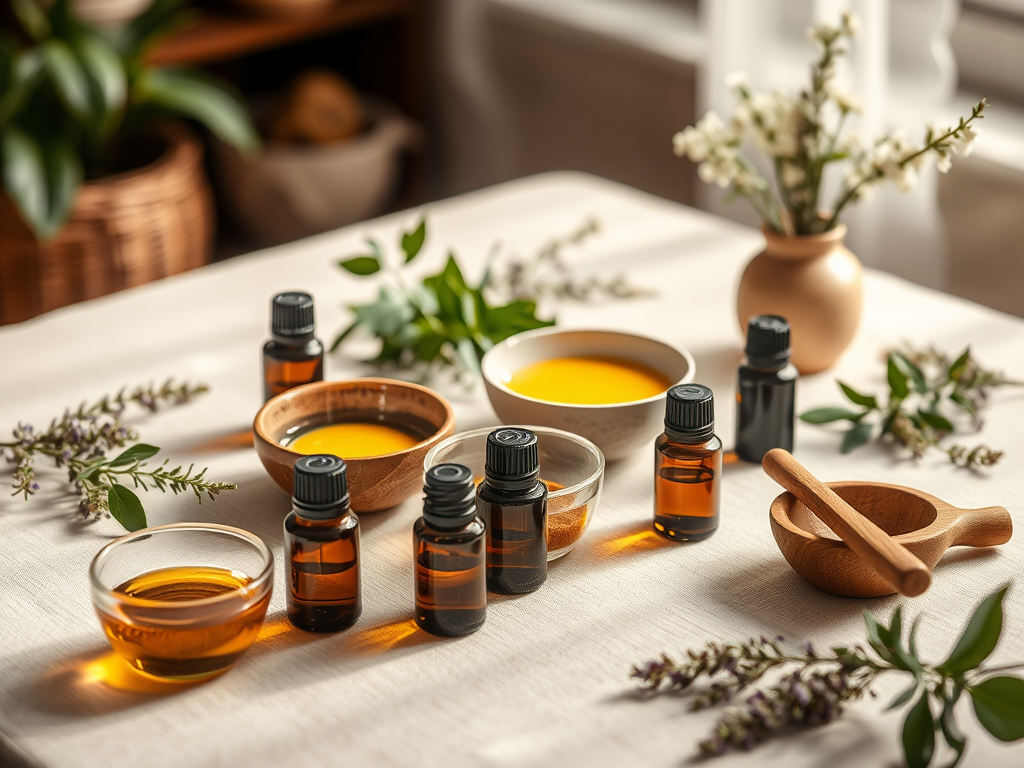
A bath and beauty Make-and-Take party is a hands-on, interactive event where guests create their own custom, plant-based selfcare products, such as bath bombs, sugar scrubs, lotions, or lip balm, to take home! These gatherings foster connection and create cherished memories. Popular for birthdays or girls’ nights, these events focus on creativity, mixing scents and natural ingredients, and often include spa-themed activities. These get-togethers are unique and so much fun! Guests LOVE that they get to make and take something home that is natural, beautiful, and useful. Creating DIY beauty products is actually easy and you can feel good about what you are putting on your skin.
-Girls Night
-Bridal Parties
-Birthday Parties
-Teen/Tween Slumber Parties
-Office Parties
-Seasonal Gatherings
-Mommy and Me Parties
-“Just Because” Get-togethers
Here are 5 Ideas that are always a hit! (Remember, you can always customize the essential oils to match your scent preference or the season) Total amount of supplies will vary depending on the number of guests. Have fun! Links to the products I use have been added for your convenience.
*This post contains affiliate links. As an Amazon Associate, I earn from qualifying purchases. This means that if you click on a link and make a purchase, I may receive a small commission at no additional cost to you. I only recommend products I genuinely love or believe will add value to your home and wellness journey. Thank you for supporting my work!
1. Flower Bath Bombs
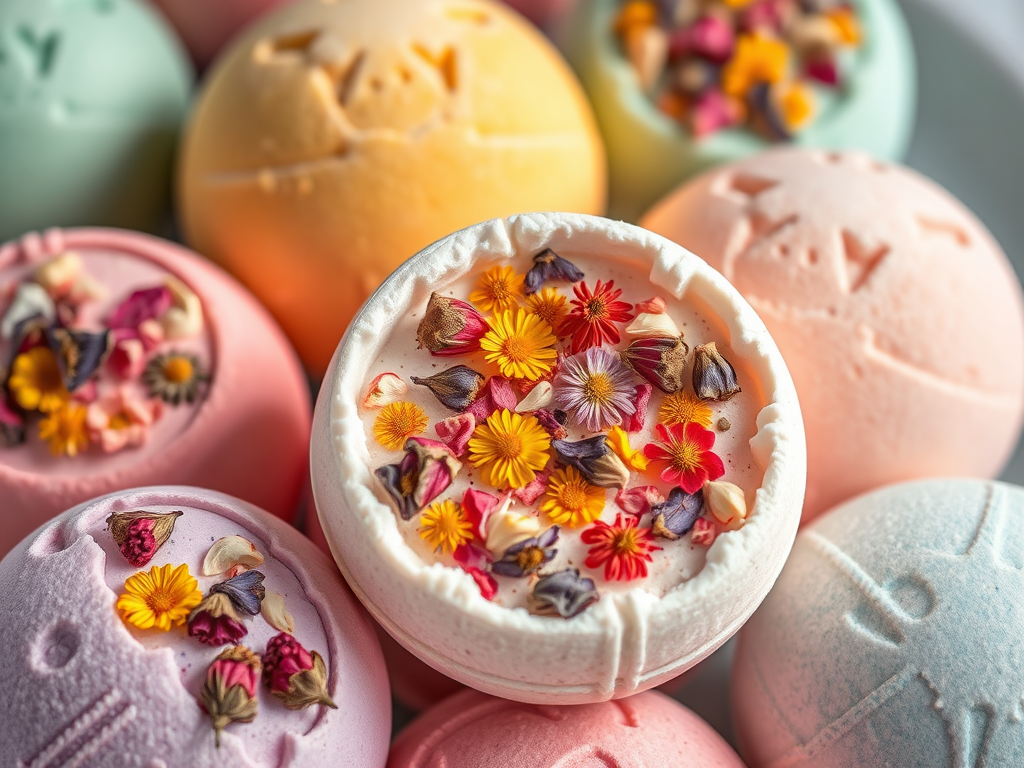
Natural bath bombs are beneficial because they use pure ingredients like essential oils, Epsom salts, and moisturizing oils to hydrate the skin, ease muscle tension, and reduce stress without harsh chemicals. They nourish the body, provide aromatherapeutic relaxation, and create a chemical-free spa experience!
Ingredients: (Makes 12 small bath bombs 1-2″ across)
- 8oz natural baking soda CLICK HERE
- 4oz natural Epsom salt CLICK HERE
- 4oz organic cornstarch CLICK HERE
- 4oz citric acid CLICK HERE
- 2-3 Tbs organic castor oil CLICK HERE
- 1 Tbs water
- 15 drops organic neroli essential oil CLICK HERE
- 10 drops organic helichrysum essential oil CLICK HERE
- natural food coloring CLICK HERE
- assorted flower petals CLICK HERE
Tools:
- large bowl
- medium bowl
- whisk
- Tbs measuring spoon
- silicone bath bomb molds CLICK HERE
Instructions:
- In a large bowl, whisk together all dry ingredients.
- In a separate bowl, mix all wet ingredients, including color if desired.
- VERY SLOWLY, add the wet ingredients to the dry, whisking well as you pour. (slow adding so citric acid won’t react). The result should feel like damp sand.
- Add flowers if desired and quickly place mixture in molds (before it dries). Press mixture firmly.
- Place tops of molds on. Mixture will expand to fit mold as it dries.
- Let dry for 24-48 hours before removing from mold.
- Place in glass container for storage (optional, but makes a great extra for your guests). CLICK HERE Bombs will lose potency after 6 months.
**FREE PRINTABLE RECIPE CLICK HERE
2. Overnight Deep Conditioner For Hair And Scalp Health
DIY overnight deep conditioners are beneficial for hair growth because they maximize nutrient absorption, intensely hydrate, and strengthen strands, which reduces breakage and boosts length retention. These treatments often use natural, nutrient-rich ingredients like essential oils and/or oils that improve scalp health, hair growth, and hair elasticity while you sleep. This makes hair so silky soft!
Ingredients: (makes 1-4oz bottle)
- 5 Tbs (2.5oz) organic sweet almond oil CLICK HERE
- 3 Tbs batana oil CLICK HERE
- 10 drops organic lavender essential oil CLICK HERE
- 10 drops organic rosemary essential oil CLICK HERE
- 10 drops organic geranium essential oil CLICK HERE
Tools:
- medium mixing bowl
- whisk
- Tbs measuring spoon
- small funnel CLICK HERE
- 4oz glass spray bottle CLICK HERE
- hair bonnet (optional but makes a nice extra for your guests) CLICK HERE
Instructions:
- Mix all ingredients together in a mixing bowl.
- Pour the ingredients into a glass bottle using a funnel and put the top back on.
- Shake well before each use.
- Spray the mixture on roots and strands where deep conditioning is needed. (gently massage in)
- Cover hair with a hair bonnet to protect your pillow and hair during sleep.
- In the morning, wash and style hair as you normally would.
- Use once per week when needed.
**FREE PRINTABLE RECIPE CLICK HERE
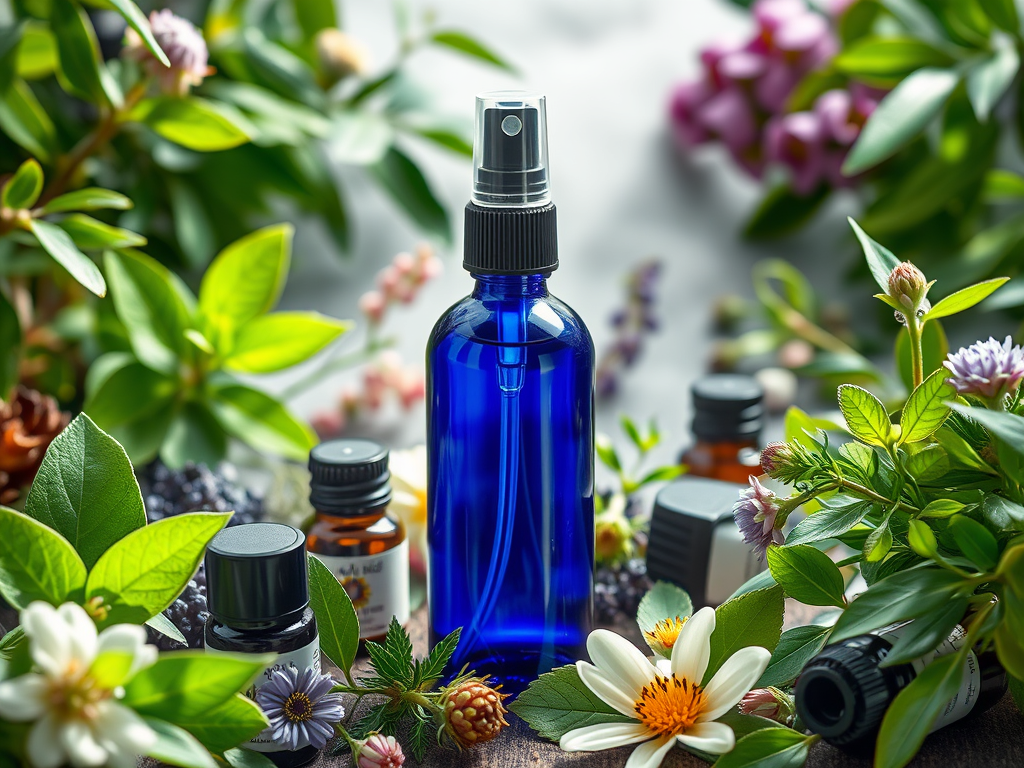
3. After Sun Skin Healing Spray
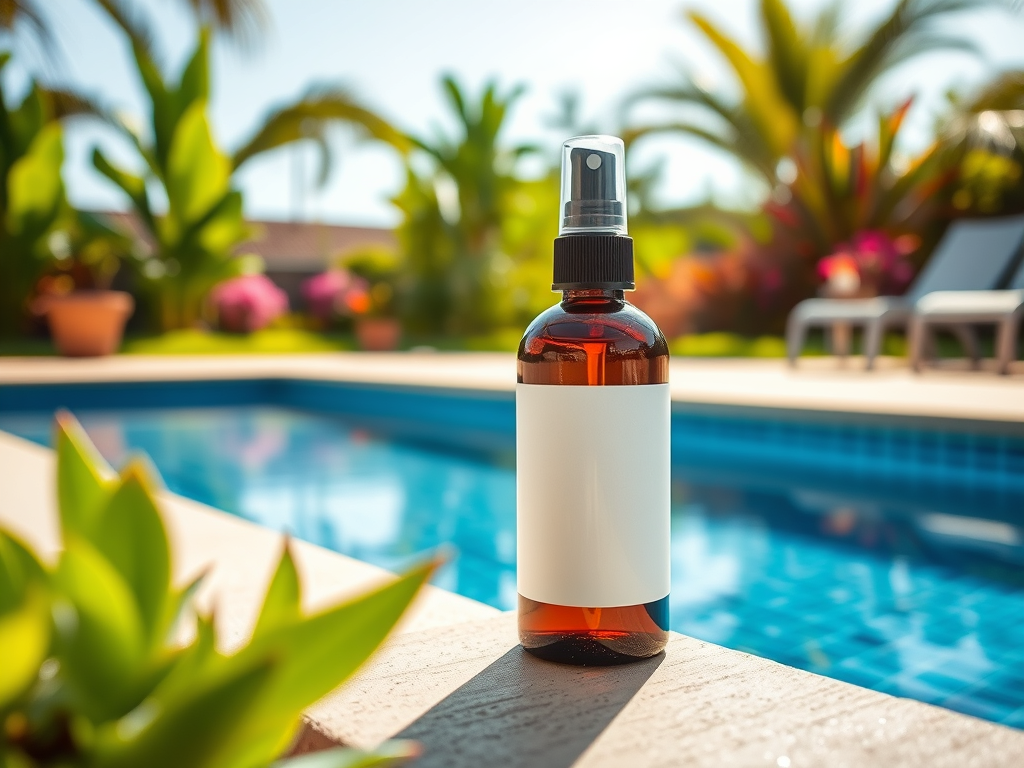
DIY after-sun skin healing spray is effective because it uses natural, mineral-rich ingredients like aloe vera, witch hazel, and essential oils to instantly cool, hydrate, and reduce information, promoting faster recovery from UV damage. It is customizable, free from harsh synthetic chemicals, and often more cost-effective than store-bought alternatives. This recipe smells amazing and works so well!
Ingredients: (makes 1-4oz bottle)
- 2 Tbsp organic witch hazel CLICK HERE
- 1/4 cup organic pure aloe vera gel CLICK HERE
- 1/2 Tsp organic vitamin E oil CLICK HERE
- 2 Tbs organic fractionated coconut oil CLICK HERE
- 10 drops organic lavender essential oil CLICK HERE
- 2 drops organic peppermint essential oil CLICK HERE
Tools:
- Medium mixing bowl
- Whisk
- Tbs measuring spoon
- Tsp measuring spoon
- 1/4 cup measuring cup
- Small funnel CLICK HERE
- 4oz glass spray bottle CLICK HERE
- Elegant sun hat (optional, but a great extra for your guests) CLICK HERE
- Turkish beach towel (optional, but a great extra for your guests) CLICK HERE
Instructions:
- Mix all ingredients together using a whisk in a mixing bowl.
- Pour the ingredients into your glass spray bottle using a funnel.
- Put the top back on the spray bottle.
- Shake well before each use.
- Spray on any affected skin and let soak in.
- Reapply as needed.
- Store in the refrigerator for maximum cooling effect and to ensure the product lasts longer.
- The shelf life is 6 months.
**FREE PRINTABLE RECIPE CLICK HERE
4. Ultra-Hydrating Lip Balm
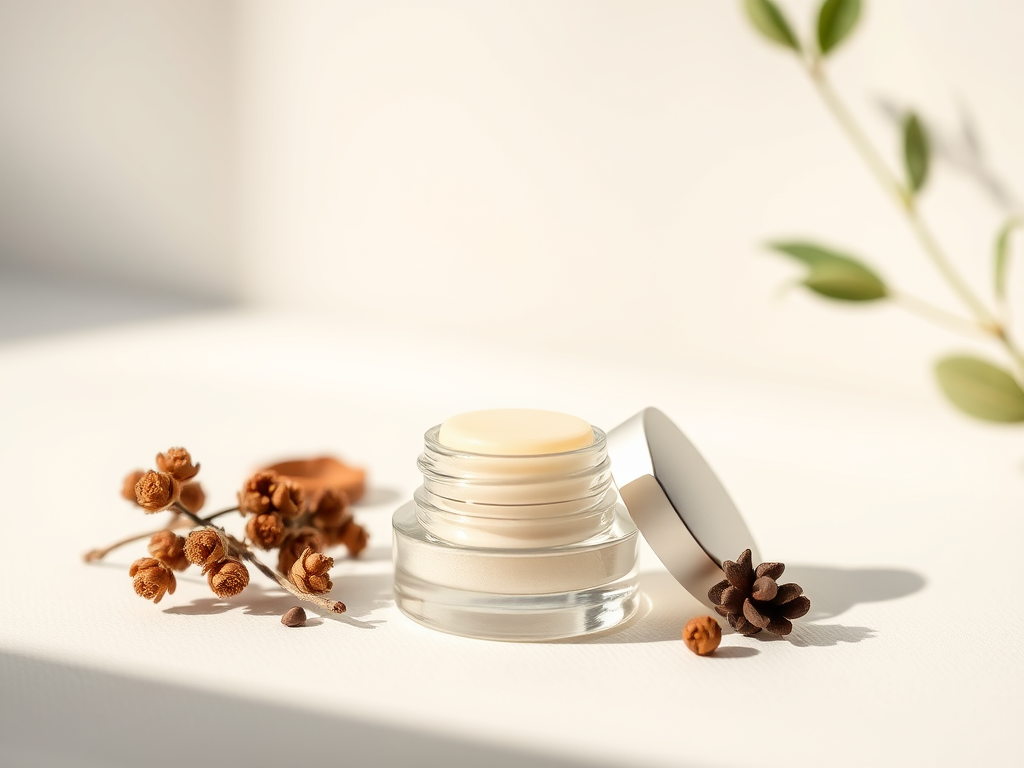
DIY hydrating lip balm is beneficial because it allows for 100% natural, chemical-free ingredients, like beeswax, shea butter, and coconut oil, that deeply nourish and seal in moisture without petroleum byproducts or artificial fragrances. It is cost-effective, customizable for scent/tint, and effectively heals chapped, sensitive skin. This is my most requested DIY product!
Ingredients: (makes around 5oz)
- 1 Tbs organic bees wax pellets CLICK HERE
- 2 Tbs organic cocoa butter CLICK HERE
- 1 Tbs organic shea butter CLICK HERE
- 1 Tbs organic coconut oil CLICK HERE
- 2 Tbs organic sweet almond oil CLICK HERE
- 1 Tbs organic olive oil CLICK HERE
- 1 Tbs organic lanolin CLICK HERE
- 1 Tbs raw organic honey CLICK HERE
- 20 drops organic spearmint essential oil CLICK HERE
- Pinch of mica for color (optional, but makes beautiful sheer color)) CLICK HERE
Tools:
- 2 or 4 cups glass Pyrex measuring cup
- Shallow cooking pan
- Spoon or spatula for stirring
- Tbs measuring spoon
- 1 oz lip balm pots CLICK HERE
Instructions:
- Place all ingredients, EXCEPT HONEY, MICA, AND ESSENTIAL OIL, in glass Pyrex.
- Fill shallow cooking pan about 1/2 full of water.
- Place Pyrex in cooking pan and turn stove onto medium-high heat.
- Melt ingredients slowly and stir occasionally (this is the double boiler method).
- When all ingredients are melted, pull from heat and let sit for 2-3 minutes.
- Stir in honey, mica for color (if desired), and essential oil. Mix well.
- Carefully pour mixture into lip balm pots and let cool completely (1-2 hours).
- Shelf life is 6 months to 1 year.
**FREE PRINTABLE RECIPE CLICK HERE
5. Hydrating Hand Cream
DIY hand cream is beneficial because it allows for the use of natural, nourishing ingredients tailored to specific skin needs without synthetic additives. It is often more cost-effective, deeply moisturizing for dry/cracked skin, and lets you control the scent, texture, and ingredients. Homemade recipes often use rich, natural ingredients like shea butter, coconut oil, and beeswax to create a protective barrier that seals in moisture better than some commercial products. You can tailor the scent combinations to your liking. People are astounded when I give this cream as a gift, so special. (I included my top 3 most requested scents)
Ingredients: (makes about 2-4oz tubs)
- 1/4 cup organic shea butter CLICK HERE
- 1/4 cup organic coconut oil CLICK HERE
- 1/4 cup organic sweet almond oil CLICK HERE
- 2 Tbs organic bees wax CLICK HERE
- 1 Tsp organic vitamin E oil CLICK HERE
- 25 drops organic lavender essential oil CLICK HERE
- 25 drops organic frankincense essential oil CLICK HERE
- *Or for a different scent combination: (uplifting)
- 25 drops organic grapefruit essential oil CLICK HERE
- 25 drops organic sweet orange essential oil CLICK HERE
- *Or for a different scent combination: (soft floral)
- 25 drops organic lilac essential oil CLICK HERE
- 25 drops organic sandalwood essential oil CLICK HERE
Tools:
- 2 or 4 cups glass Pyrex measuring cup
- Shallow cooking pan
- Spoon or spatula for stirring
- Tablespoon measuring spoon
- Teaspoon measuring spoon
- 1/4 cup measuring cup
- Cosmetics tub CLICK HERE
Instructions:
- Place all ingredients, EXCEPT VITAMIN E OIL AND ESSENTIAL OILS, in glass Pyrex.
- Fill shallow cooking pan about 1/2 full of water.
- Place Pyrex in cooking pan and turn stove onto medium-high heat.
- Melt ingredients slowly and stir occasionally (this is the double boiler method).
- When all ingredients are melted, pull from heat and let sit for 2-3 minutes.
- Stir in vitamin E oil and essential oils. Mix well.
- Carefully pour mixture into cosmetics container and let cool completely (2-4 hours). If you prefer a whipped cream, cool until mostly solid (like butter at room temperature) in the refrigerator (to speed up solidification), then beat mixture with an electric beater until it is white and fluffy. Spoon into container.
- Shelf life is 6 months to 1 year.
**FREE PRINTABLE RECIPE CLICK HERE
*Tips For Hosting A Successful Make-And-Take Party
Hosting a DIY bath and beauty party doesn’t need to be complicated. With a little preparation and a relaxed atmosphere, it can become a memorable experience that brings people together while creating something nourishing and beautiful.
Here are a few simple tips to make your gathering feel effortless and special.
Keep the Guest List Small and Co
DIY crafting works best in a relaxed environment where everyone has space to create and connect.
A group of 4–8 guests is often ideal. This allows everyone to participate comfortably, ask questions, and enjoy meaningful conversation without the event feeling rushed or crowded.
Smaller gatherings also create a warm atmosphere that encourages laughter, storytelling, and connection.
**To read a related post with another really great DIY recipe click here: How to Create the Perfect At-Home Detox Bath (A Spa Ritual for Body & Nervous System) ** These bath salts work! They would look super cute done in layers in a mason jar!
Prep Ingredients and Stations in Advance
Before your guests arrive, measure or pre-portion ingredients whenever possible.
Consider setting up individual crafting stations with:
- bowls or mixing containers
- measuring spoons
- labels and markers
- recipe instruction cards
This keeps the flow of the party smooth and allows guests to focus on the fun part—creating their own products.
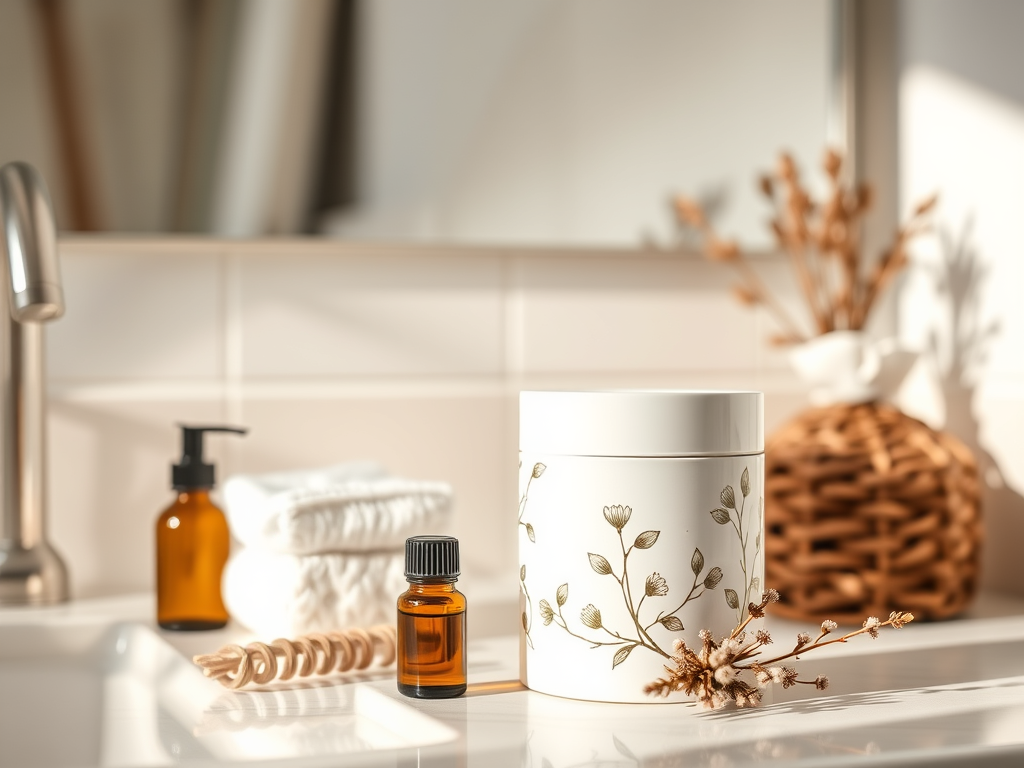
Create a Relaxing Spa-Like Atmosphere
Ambiance makes a big difference.
A few simple touches can transform the space into a calming retreat:
• soft lighting or candles
• relaxing music or nature sounds
• fresh flowers or greenery
• herbal tea, infused water, or light snacks
The goal is to create an environment that feels peaceful, welcoming, and nourishing.
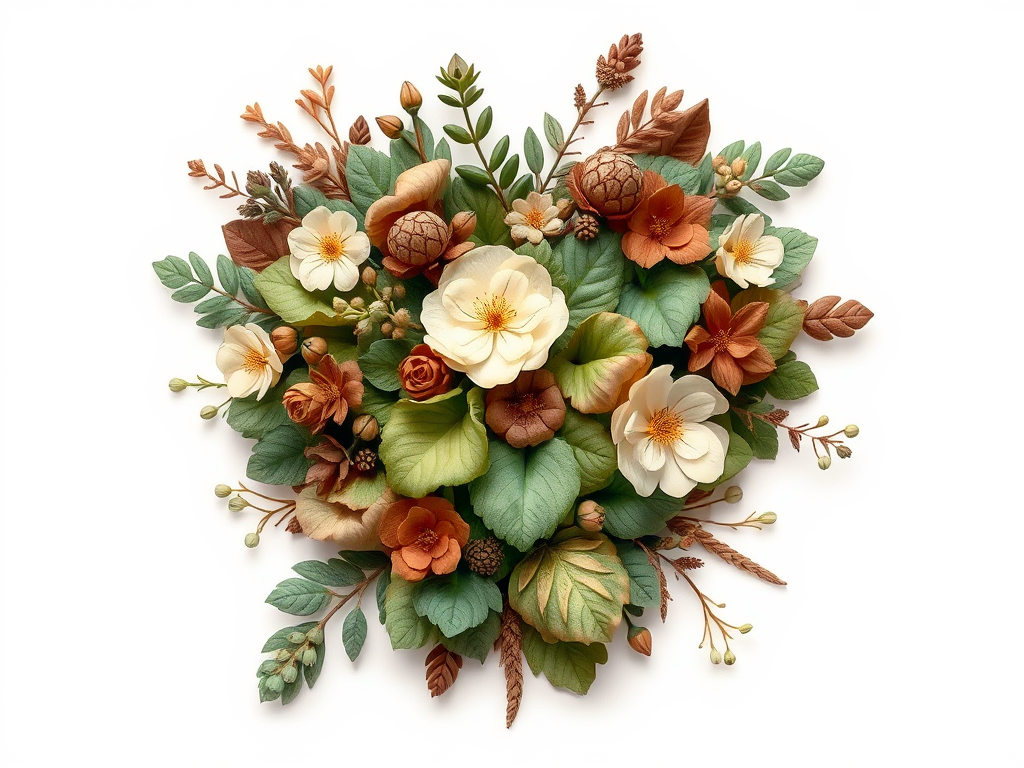
Offer Ingredient Choices for Personalization
One of the most enjoyable parts of DIY beauty crafting is customization.
Provide a small selection of options such as:
• different essential oils
• dried herbs or flower petals
• natural colorants
• glass jars or containers
This allows guests to create something that feels uniquely theirs.
What to Send Guests Home With
A short section like this:
Send Guests Home With:
• their finished DIY products
• recipe cards
• a small gift bag
• a handwritten thank-you note
This creates a memorable finishing touch and encourages guests to recreate the experience.
Print Simple Recipe Cards
Provide printed recipe cards so guests can easily recreate their favorite products at home.
You might include:
- ingredients
- step-by-step instructions
- shelf life
- storage tips
Guests often appreciate having the recipe so they can continue enjoying the ritual long after the party ends.
FREE PRINTABLE RECIPE BATH BOMBS
FREE PRINTABLE RECIPE DEEP HAIR CONDITIONER
FREE PRINTABLE RECIPE AFTER SUN SPRAY
FREE PRINTABLE RECIPE LIP BALM
FREE PRINTABLE RECIPE HAND CREAM
Encourage Slow Moments and Conversation
While crafting is the activity, the heart of the gathering is connection.
Allow space for:
- sharing stories
- asking wellness questions
- laughing together
- slowing down
These moments are often what people remember most.
Final Thoughts: More Than Just DIY Beauty
Hosting an at-home bath and beauty make-and-take party is about more than creating lotions, sprays, or bath bombs.
It’s about creating space for connection.
In a world that often feels rushed and disconnected, gathering with friends to create something simple and nourishing can be surprisingly meaningful.
The process of mixing ingredients, sharing ideas, and enjoying conversation together creates memories that last far longer than the products themselves.
These small gatherings nurture an often overlooked part of wellness—social wellbeing.
Laughter, creativity, and shared experiences help strengthen relationships, reduce stress, and remind us of the joy found in simple moments together.
So light a few candles, gather your favorite people, and enjoy the beauty of creating something by hand.
Sometimes the most powerful self-care comes from simply spending time together.

Leave a reply to How to Create the Perfect At-Home Detox Bath (A Spa Ritual for Body + Nervous System) – Ryne and Pixie Cancel reply